Here’s a Simple Yoga Routine for Beginners Who Want Better Balance After 50
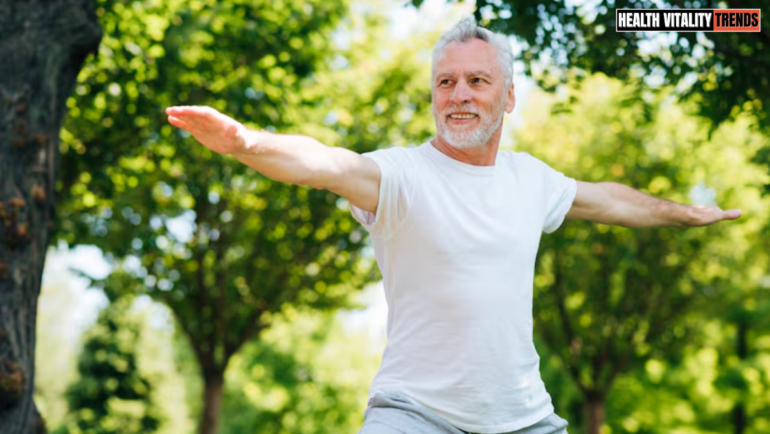
If you are an individual above 50, have you begun to notice that activities like — standing on one leg, getting up from a chair, or walking across an uneven surface don’t feel as effortless as they once did? After 50, these everyday movements can become more challenging as strength, mobility, and balance decline with age.
But age isn’t the whole story. Long hours of sitting, limited physical activity, and poor exercise habits can make these changes more noticeable.

As a certified personal trainer with nearly a decade of experience in fitness and health writing, I recommend that starting with some easy body moves is the best way to make a comeback.
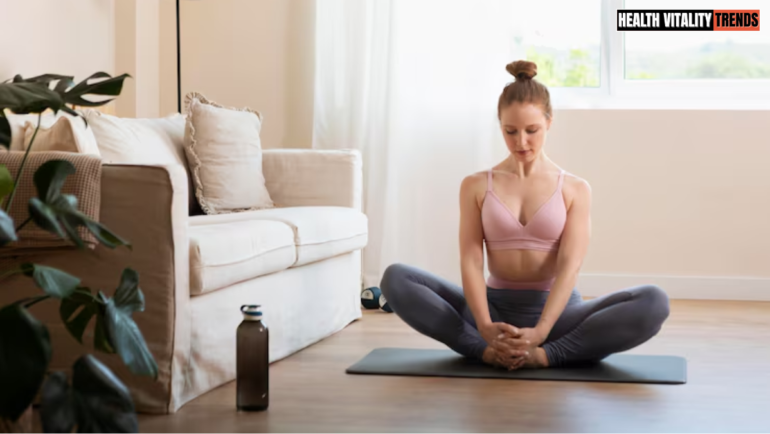
If you don’t have time for the gym, running, or a structured workout, 15 to 30 minutes of beginner-friendly yoga session can be a practical way to start moving more regularly.
Our goal isn’t to master complicated poses. But it is to improve body awareness, coordination, flexibility, and balance through consistent practice.
🟧 READ MORE
- 10 Strength Exercises That Become More Important After 50
- 4 Functional Fitness Exercises That Support Healthy Movement For Life
- This Beginner Yoga Pose Relieves Lower Back Stiffness in Adults Over 50
15 Beginner-Friendly Yoga Poses for Better Balance After 50
To start practising these poses, you need to have the following things ready — a clean yoga mat, a wall-supported area in your home or studio, and a chair for support when needed. While doing these yoga poses, always maintain a slow breathing pace. Stop immediately at any point if you experience pain, dizziness, or unusual shortness of breath.
Let’s begin.
1. Mountain Pose (Tadasana)
Why it helps: This pose encourages an upright posture and awareness of how your weight is distributed.
How to do it:
- Stand with your feet hip-width apart.
- Keep your knees relaxed and distribute your weight evenly across both feet.
- Lengthen your spine, relax your shoulders, and look forward.
- Hold for 20 to 30 seconds while breathing naturally.
2. Tree Pose (Vrikshasana)
Why it helps: The Tree pose challenges you with single-leg balance and concentration.
How to do it:
- Stand beside a wall or chair.
- Shift your weight onto your left foot.
- Place your right foot against your left ankle or inner calf, avoiding the knee.
- Hold for 10–20 seconds, then switch sides.
3. Chair Pose (Utkatasana)
Why it helps: Doing Chair Pose correctly strengthens the thighs and glutes, which support standing and sitting.
How to do it:
- Stand with your feet hip-width apart.
- Push your hips backward as if sitting on a chair.
- Bend your knees only as far as comfortable.
- Keep your chest lifted, hold for 10–20 seconds, and stand back up.
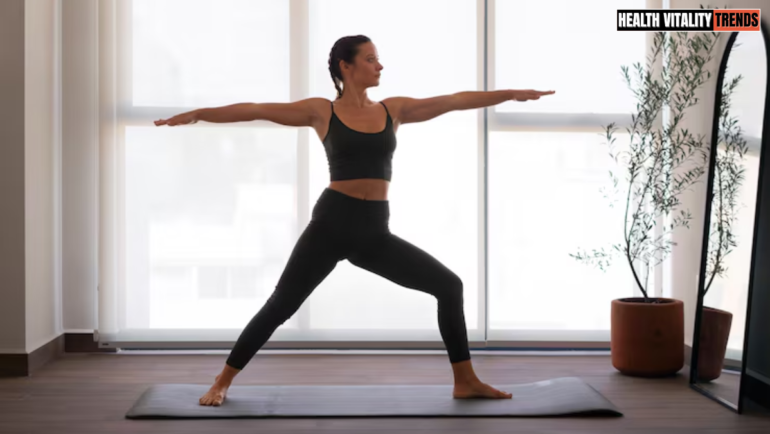
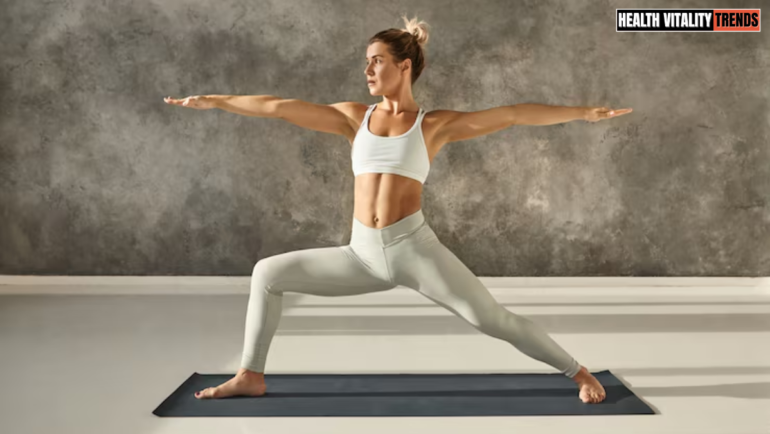
4. Warrior II (Virabhadrasana II)
Why it helps: This yoga move builds leg endurance and challenges stability in a wider stance.
How to do it:
- Step your feet wide apart.
- Turn your right foot outward and bend your right knee gently.
- Extend your arms sideways and look over your right hand.
- Hold for 15–20 seconds, then switch sides.
5. Triangle Pose (Trikonasana)
Why it helps: The Triangle Pose encourages hip mobility and controlled movement through the torso.
How to do it:
- Stand with your feet wide apart.
- Turn your right foot outward and extend your arms sideways.
- Reach your right hand toward your shin or a yoga block.
- Extend your left arm upward if comfortable, then switch sides.
6. Tree-Supported Heel Raises
Why it helps: Strengthens the calves and ankles, which contribute to balance while walking.
How to do it:
- Stand behind a sturdy chair, holding it lightly.
- Keep your feet hip-width apart.
- Slowly lift your heels off the floor.
- Lower with control. Repeat 8–12 times.
7. Cat-Cow Pose (Marjaryasana-Bitilasana)
Why it helps: The Cat-Cow stretch is the best yoga movement that promotes comfortable spinal movement and coordination with breathing.
How to do it:
- Get onto your hands and knees, using padding under your knees.
- Inhale and gently lift your chest while allowing your back to arch.
- Exhale and round your back gently.
- Alternate slowly for 6 to 10 repetitions.
🟧 READ MORE
- Start Here if You Want to Build Muscle Without Feeling Overwhelmed
- These Protein-Rich Foods Can Help Support Muscle Maintenance After 50
- Fitness Coach Shares 5 Supplements Men Over 50 May Need to Support Muscle Growth and Strength
8. Bird Dog (Dandayamana Bharmanasana)
Why it helps: This yoga movement trains for trunk stability and coordination between the arms and legs.
How to do it:
- Begin on your hands and knees.
- Extend your right arm and left leg only as far as you can remain stable.
- Keep your hips level and avoid arching your back.
- Return to the starting position and switch sides. Repeat 5–8 times per side.
9. Bridge Pose (Setu Bandhasana)
Why it helps: This hip movement strengthens the glutes and encourages hip extension.
How to do it:
- Lie on your back with your knees bent and feet flat.
- Keep your arms beside your body.
- Press through your feet and lift your hips comfortably.
- Hold for 3–5 seconds, then lower slowly. Repeat 8–10 times.
10. Low Lunge (Anjaneyasana)
Why it helps: Encourages hip-flexor mobility, which can be useful after long periods of sitting.
How to do it:
- Kneel on a padded surface with your right foot forward.
- Keep your front knee aligned over your foot.
- Gently shift your hips forward without forcing the stretch.
- Hold for 15–20 seconds, then switch sides. Use a chair for support if needed.
11. Extended Side Angle Pose (Utthita Parsvakonasana)
Why it helps: Challenges leg stability while encouraging comfortable movement through the sides of the torso.
How to do it:
- Take a wide stance and turn your right foot outward.
- Bend your right knee slightly.
- Rest your right forearm on your thigh.
- Extend your left arm overhead if comfortable, then switch sides.
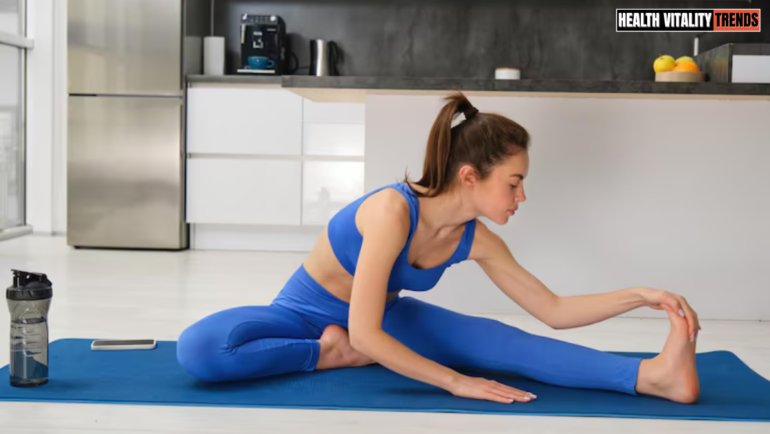
12. Seated Forward Bend (Paschimottanasana)
Why it helps: This yoga move offers a gentle hamstring stretch and encourages comfortable movement at the hips.
How to do it:
- Sit on a folded blanket with your legs extended or slightly bent.
- Lengthen your spine.
- Hinge forward from your hips without forcing your back to round.
- Rest your hands on your thighs or shins and hold for 15–20 seconds.
13. Easy Seated Twist
Why it helps: Encourages gentle spinal rotation and awareness of posture.
How to do it:
- Sit upright on a chair or folded blanket.
- Place your hands comfortably on your thighs.
- Turn your torso gently to the right without forcing your neck.
- Return to center and repeat on the left. Hold each side for 10–15 seconds.
14. Supported Standing Knee Lift
Why it helps: Practices the single-leg stability needed for walking and stepping over obstacles.
How to do it:
- Stand beside a sturdy chair and hold it for support.
- Shift your weight onto your left foot.
- Slowly lift your right knee a few inches.
- Lower it with control and repeat 5–8 times before switching sides.
15. Corpse Pose (Savasana)
Why it helps: Provides a quiet finish to your session and encourages relaxation after movement.
How to do it:
- Lie on your back with your legs comfortably apart.
- Rest your arms beside your body, palms facing upward.
- Support your head or knees with pillows if needed.
- Breathe naturally and relax for 1–3 minutes.
How to Turn These Poses Into a Morning Routine
First of all, you don’t need to perform all of the 15 poses in one session. As a personal trainer, I’d recommend starting with any five poses per day, and choose movements that feel comfortable for your current ability.
Spend around 1 to 3 minutes on each pose, including both sides where necessary. A short routine might combine Mountain Pose, Supported Knee Lifts, Tree Pose with chair support, Cat-Cow, and Bridge Pose. And as you improve, rotate in other poses on different days.

Aim for 15 to 30 minutes of practice, three to five days per week, and progress gradually. If you have a history of falls, significant balance problems, osteoporosis, or a medical condition affecting movement, seek appropriate professional guidance before trying challenging poses.
For more practical tips on mobility, strength, and healthy aging, follow Health Vitality Trends on Facebook. You’ll find approachable fitness guidance designed to help you stay active without making exercise unnecessarily complicated.
The Bottom Line
Better balance after 50 starts with regular practice, not perfect poses. Yoga can help you develop body awareness, flexibility, and stability, but it works best as part of a broader routine that includes strength training and regular walking when appropriate.
Choose five poses, practice them consistently, and build from there.
For short daily fitness tips and practical training advice, join the Health Vitality Trends WhatsApp Channel. Make movement part of your everyday life, one manageable session at a time.
Editor’s Note: This content is for informational and educational purposes only and is not intended to diagnose, treat, or cure any medical condition. Always consult your physician or a qualified personal trainer before starting any workout or nutrition program.